Setting Up the Theme Using Customizer
Once the Market Pro Theme is installed. You can start setting up the theme.
Before you set up the theme. Make sure that your site has some pages, posts, categories and featured images.
How to use Theme Customizer?
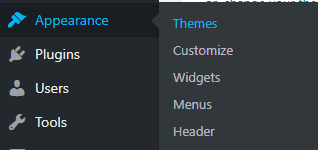
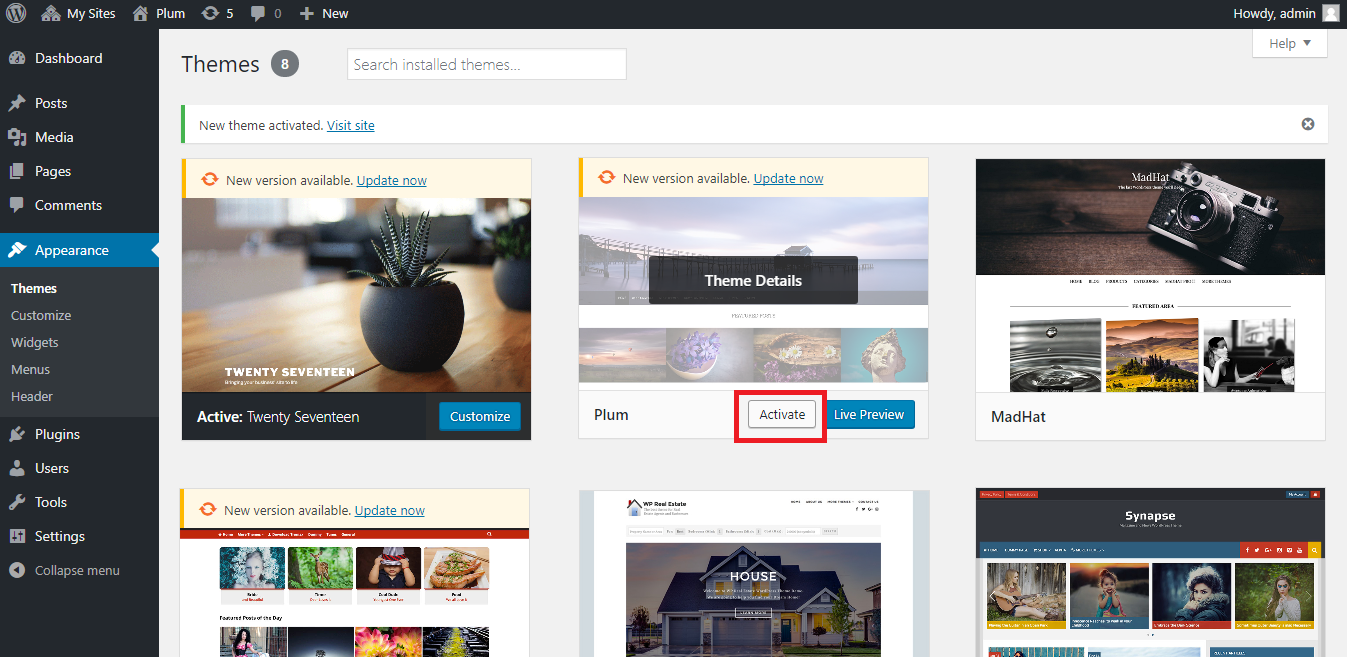
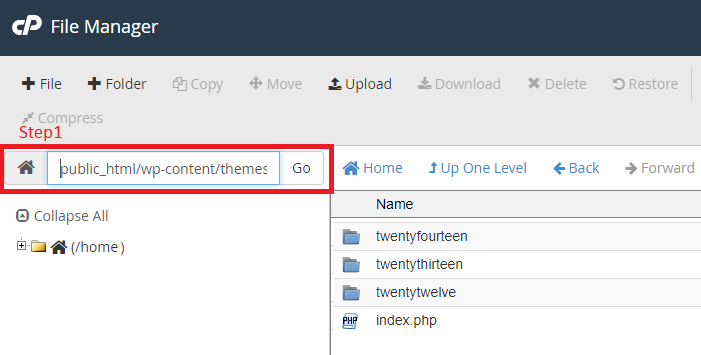
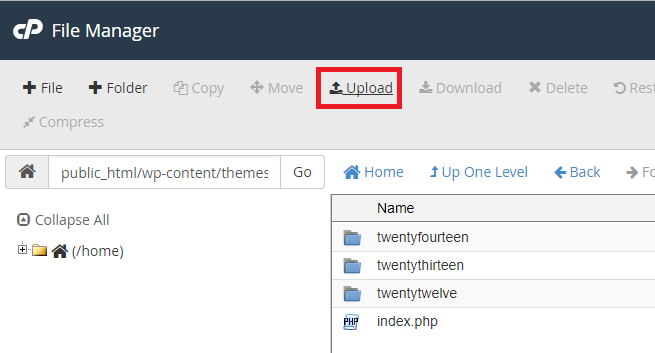
- To Configure your Market theme using Customizer log into your WordPress dashboard.
- Go to Appearance > Customize.
- Customize window of your Market theme will be loaded which will look like following:
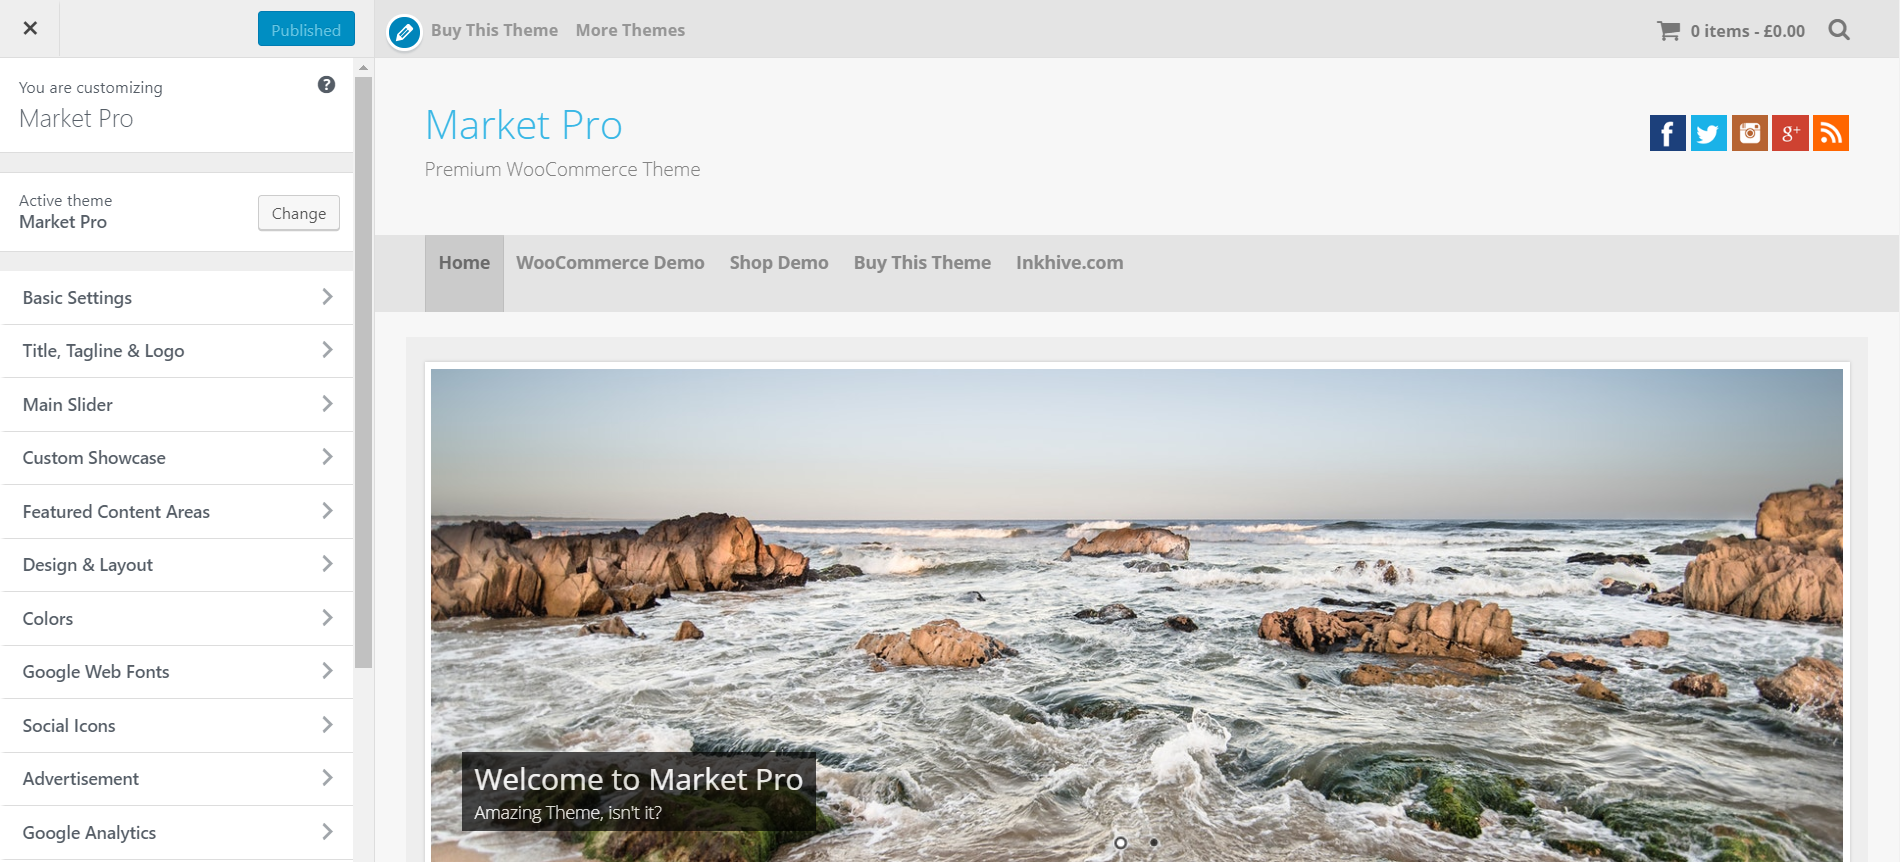
Title, Tagline & Logo
This section contains Following Settings:
Logo: Here you can upload a Logo for your Website. Crop & Resize the logo perfectly on your computer before uploading it.
Site Title: By the using Site Title option you can insert a site title to your Market Theme.
Tagline: You can use Tagline option to insert a tagline for your website which can be a small description of your website.
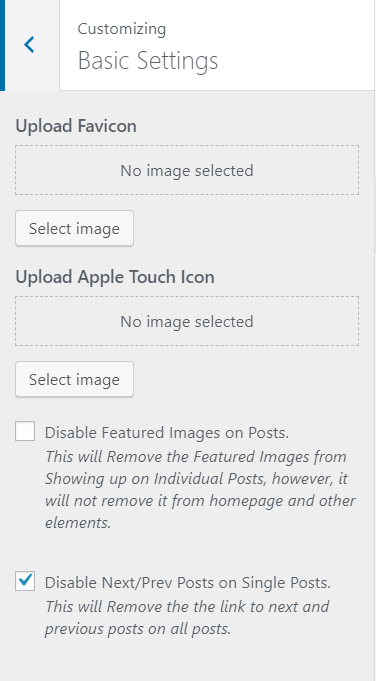
Basic Settings
This Contains Numerous setting
gs which can be useful for you to set up the perfect header.
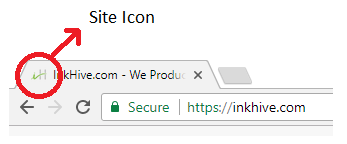
- Upload Favicon and Apple Touch Icon: This will add a site icon to your website and it will be displayed in top right corner of your browser tab (Shown below in the second image).
- Apple Touch Icon: This will be displayed while you use your site in Apple iPhones.
- Disable Featured Images on Posts: This feature will disable featured image on posts while open.
- Disable Navigation Buttons on Posts: You will not see the post navigation in footer while a post is open and you will not be able to switch between the posts while reading.
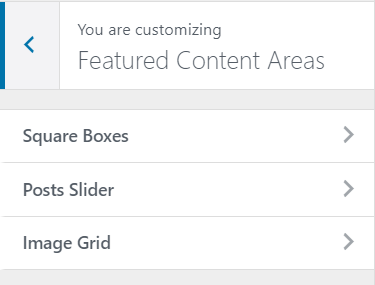
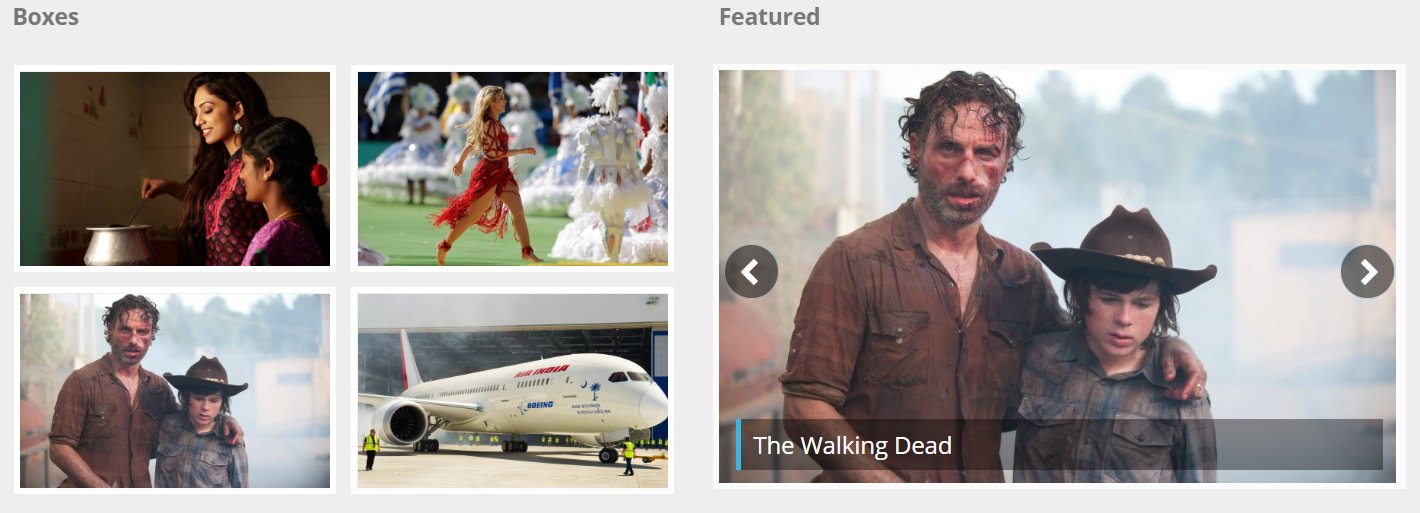
Featured Content Areas
How to use Featured Content Areas?
This theme has Many Featured Content Areas to display your Featured Posts. These Featured Posts can be set through a Category.
And for all of them to work, make sure you have sufficient posts in the selected categories, and you have defined Featured images for All of them.
Working With Image Thumbnails
With this theme, you are likely to run into Issues with Images, if you are new to WordPress.
Setting Up Featured Images for Posts?
If you haven’t set any Image on your Homepage and you are seeing a Blank Dummy Image. That’s because you have not set any Featured Image Yet.
How to set Featured Image?
- To set a Featured Image, go to Edit Post and on the Edit page, at the bottom, you will see.
- Now click on Set featured image > Select An Image To Upload Or Choose From Already Existing Images.
- Next, Click onSet featured image button.
- Now an image will be set on your post. Click Update to make changes visible. Make sure that the Featured image you upload is large enough.
Min Width: 600pxMin Height: 400px[ATTENTION: Smaller images will not resize properly.]
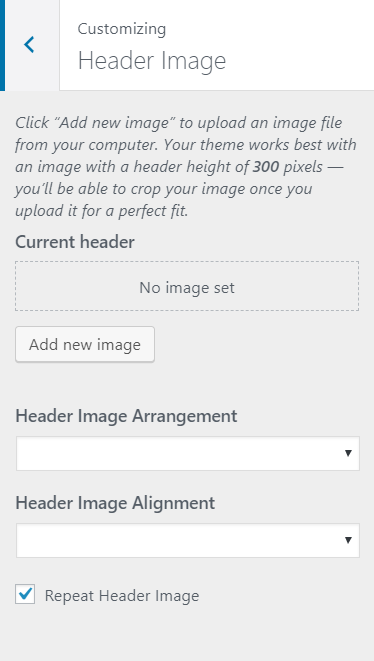
How to use Header Image?
- To set a Header Image, go to Appearance > Customize and on the Customize Page, on the left section(Pane) you will see “Header Image” option.

- Now click on Header Image > Add New Image > Now Upload Or Choose From Already Existing Images.
- Next, Click on Select and Crop button.
- Now Crop Image according to your image message or Skip Cropping your Header Image will be set on your website.
- Click Save & Publish to make changes visible.
- You can also set Header Image Arrangement to two modes i.e. Contain (will contain the area according to the size of the image) and Cover (will cover the whole area with the image without repetition).
- Header Image Alignment lets you align your header image to show the image information properly. You can align your image with three different mode Left, Center, & Right.
- Repeat Header Image: If you want to display fill your header your header image in repetition then you need to check the checkbox.
Fix issues Related to Improper Image Sizes
All Images are Different in size. Why?
You won’t have this issue in your Market Theme. If you have recently come from a Different theme, your Images will all be of different sizes and will break the theme’s layout.
- To Forcefully Resize All Images and solve this issue, Install and Activate the Plugin named “Regenerate Thumbnails Plugin”.
- You can download this plugin from the following link:
https://wordpress.org/plugins/regenerate-thumbnails/
[ATTENTION: All the images uploaded while “Market Theme” is installed, will automatically be resized. You don’t have to worry about selecting the Correct Sized Images. Just make sure they are Large enough. No Fixed Size Recommended.]
Static Page vs Recent Posts
Market theme provides Static Front Page section which supports two types of Home Page Display:
- A Static Page
- Or Your Recent Posts

- A Static Page: It will set a Regular Page to your Website’s Home. This is useful if you are not planning on maintaining a Blog and using this theme on a Static Website.
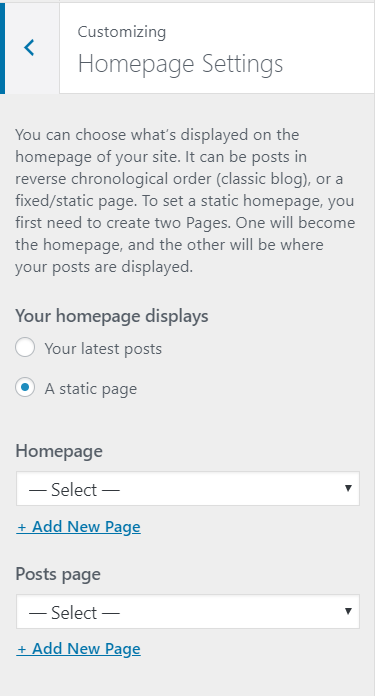
- Your Latest Posts: It will show the Latest Post on your Website’s Home Page.
Navigation Menu
Market theme supports two Navigation Menus. The Important one is Primary Menu to Show in the Header.
You can also enable an alternate menu to show up instead of the Social icons as discussed earlier in the Header Settings.
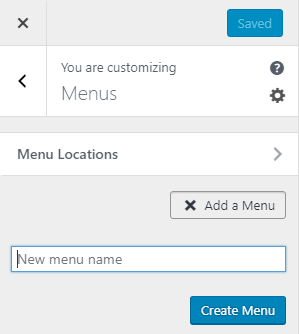
How to Set up Navigation Menu?
- Go to Appearance > Customize > Menus.

- Now Create Menu you want to display on your website.
- After creating a New Menu you can Add Items to it as shown in the following image
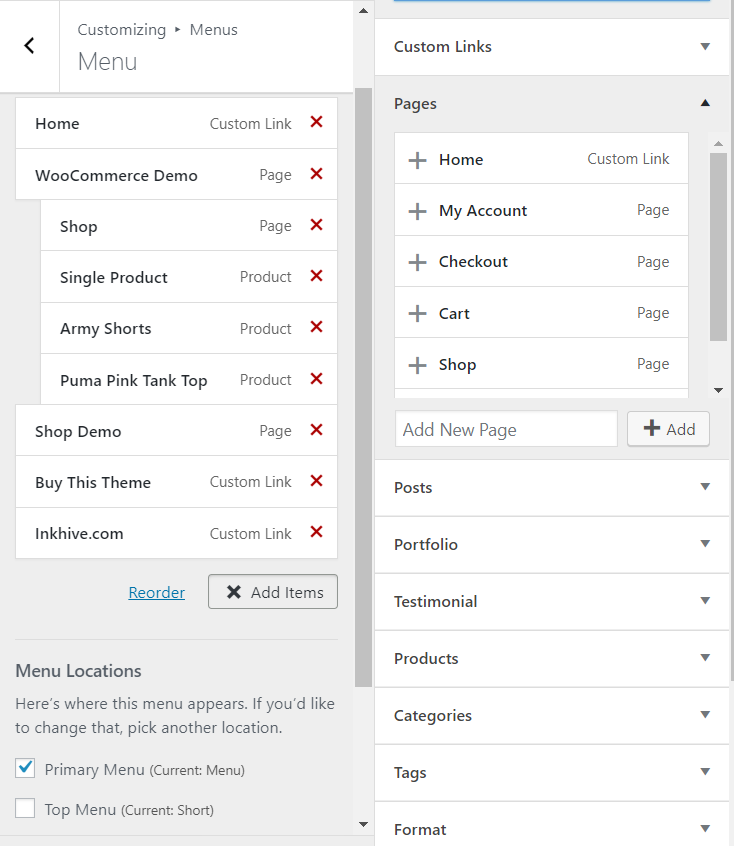
- You can Drag & Drop Add Items to make them Sub Menu Items.
Google Web Fonts
This theme supports 650+ Google Fonts. You can choose from 2 Fonts which will automatically be placed at various locations on the theme depending on the context.
- Title Font
- Body Font
Social Icons
You can also Choose Upto 30 Social Icons and you can setup up to 10 icons at a time.
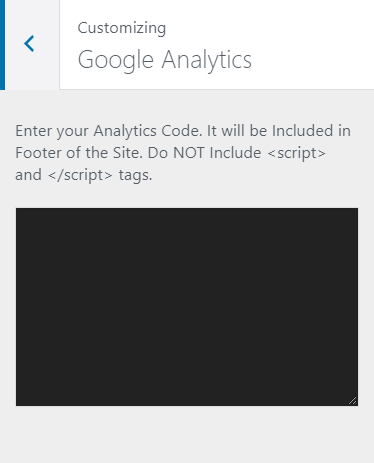
Google Analytics
It lets you add Google Analytics code to your website’s footer you just need to paste the code in the customizer and make sure to paste code without <script> tag.
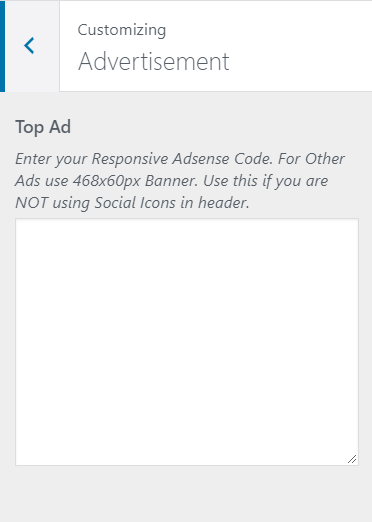
Advertisement
This will let you display advertisements on your website. You just need to paste the adsense code to the customizer to display the adds.